(Modern Survival.org) – If You Have Nothing But the Animal, a Knife, and Water, Which of These Can Be Used to Tan a Hide?
- Brain
- Muscles
- Sinew
- Fat
Answer: Brain. Here’s why…
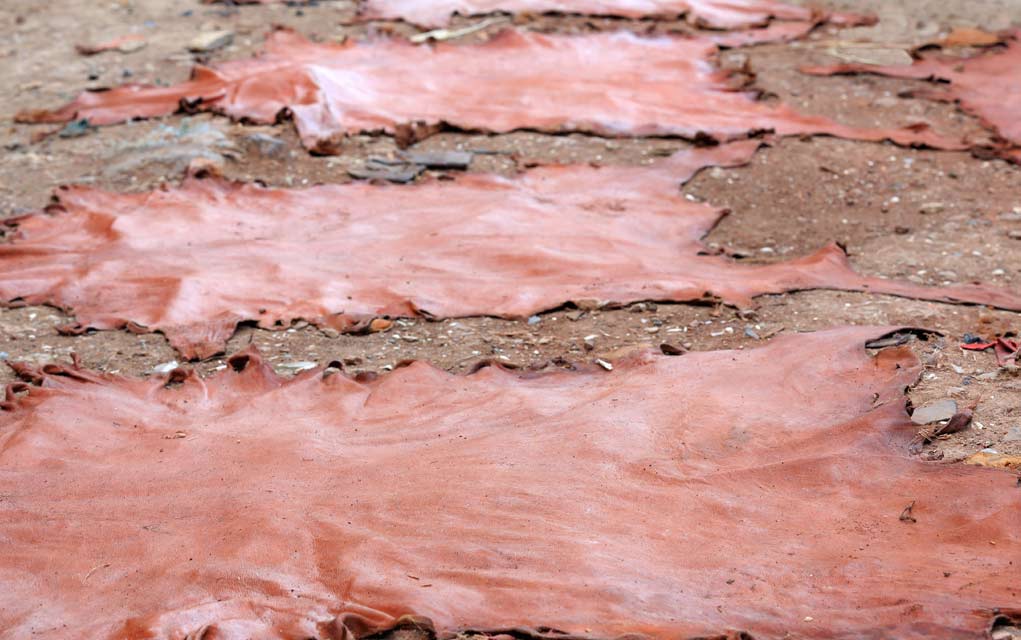
Tanning a hide is the process of transforming dried-out animal skin from rawhide to a pliable, water-resistant, leather-like state. In modern times, this is generally done through the use of chemicals. For hundreds, if not thousands of years prior to the introduction of modern methods, tanning hide was done by hand using the brains of the animal itself.
Getting Started
To begin the tanning process, the hide has to be fleshed. Essentially, this means removing all of the fat, muscle, and membranes that may still be attached to the hide after the skinning process. This can be done by stretching the hide, then scraping it with a knife or rock. The hide will be ready for the next step once the pores are visible to the naked eye.
Once the hide has been fleshed, it needs to completely dry out. This will turn the skin into rawhide.
The Tanning Process
After the skin has dried out and become rawhide, it is time to begin the tanning process. To explain how to do this, David Canterbury has provided the following video:
First, soak the hide in water to rehydrate it. Dry the hide out again, to the point where it is barely pliable. This opens the pores so they can absorb the brain solution in the next steps. As the video explains, soaking a hide overnight is a bad idea if the intent is to keep the fur. Oversoaking will cause the hair to “slip”, or loosen.
Make the Brain Solution
Every animal is supposed to have enough brain matter and tannins to tan its hide. To create the brain solution that’s used to tan the hide, begin by heating water. According to David, one cup of water is plenty to mix with a beaver-size brain.
The water shouldn’t be boiling or even hot, just warm. The brain will be hand-mixed with warm water, therefore, it shouldn’t be so hot as to scald the hands. The goal is to create a slurry by mashing the brain matter in the water and releasing the tannins into the mixture. When the mixture is ready, it should have a milky appearance.
Applying the Solution to the Hide
Apply the slurry to the hide, massaging the mixture into every crease. Don’t rush the process; take time and work the solution into the entire hide. The liquid will begin to soak into the hide as it is worked, which is good.
When tanning hides with fur, it’s important not to get the solution on the fur itself. The solution will make the hair slip, which will damage the fur.
Once the hide has been thoroughly massaged with the brain solution, fold it up and wrap it in a blanket (in colder climates, this will help to keep the fur from freezing). Let the hide soak up the solution for a day or two before moving on.
After the hide has set for a day or two, it needs scraping to remove the remaining liquid. Once scraped, the hide must be broken to make it soft and subtle. David shows how to accomplish this in the second half of his tutorial on brain-tanning hide:
Tanning hides with brains is a great way to practice bushcraft and survival skills, as it teaches both patience and a potentially life-saving skill. After all, in a long-term survival situation, clothing will eventually wear out and need to be replaced.
To learn another bushcraft survival skill that could save a life, check out our article on rubbing sticks to create fire.
~Here’s to Your Survival!
Copyright 2023, ModernSurvival.org


